Have you been working your upper back? If so, great! But, are you using the best exercises? Check this list. We have all the best upper back exercises right here. Your back just got better!
Strong upper back muscles are vital for athletes who train on a regular basis. Not only are they sure to help improve posture and the effectiveness of the rest of the exercises performed during a workout, but they will also assist in preventing injury and keeping you in top form during the best back workouts.
Below, we discuss 11 of the best upper back exercises for building strength, increasing endurance and enhancing stability.
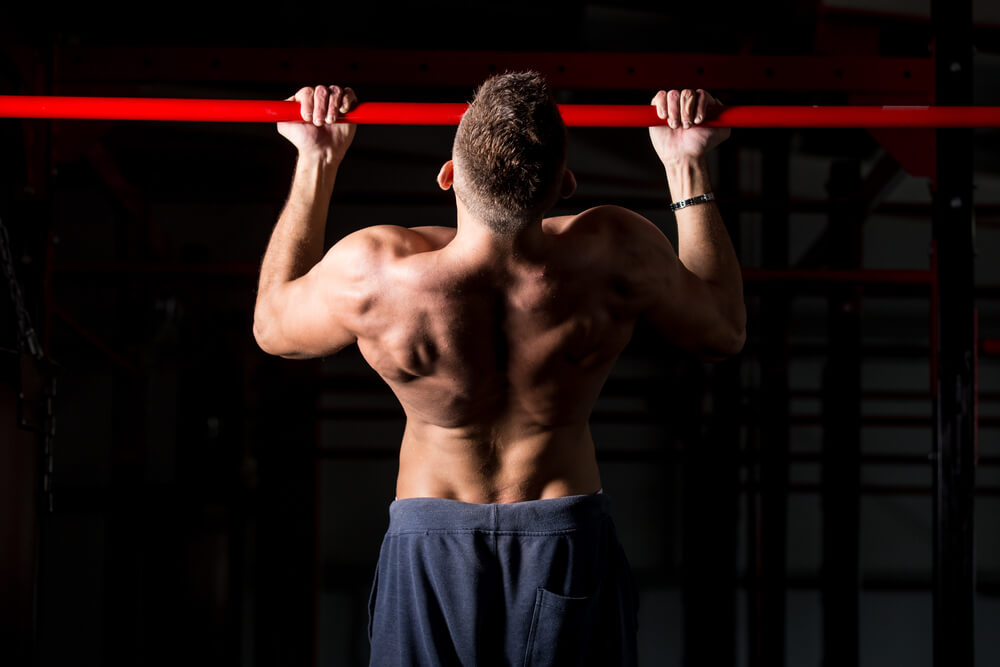
#1 The Chin-Up
What You’ll Need:
- A sturdy bar
This particular exercise often forms a part of one’s training schedule purely because it works a number of different muscle groups. Along with the upper back, it also focuses on the biceps, outer back, and the lats.
What follows is how to get it right.
Grip the bar firmly with your palms facing you (the supinated grip). To avoid injury, it is important to hold the bar with your hands no greater than shoulder width apart. If you prefer, your hands can also be slightly narrower – but never wider. Cross your legs and begin pulling your chest towards the bar until your chin extends past it. Lower slowly, controlling your shoulders, back, and biceps, and avoid extending your elbows fully. Repeat.
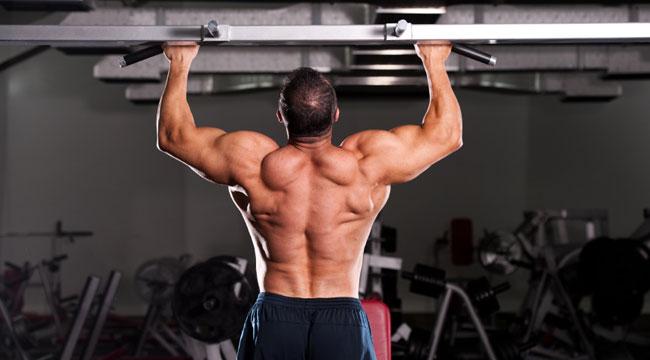
#2 The Pull-Up
What You’ll Need:
- A sturdy bar
Also, this is assuming you know how to do one pull-up.
Pull-ups are similar to chin-ups and provide the same number of benefits. The only difference, however, lies in the grip on the bar. While chin-ups require a supinated grip, pull-ups require a pronated grip. In other words, your palms face away from your body when doing a pull-up. Along with this, in order to get the most out of the benefits of the pull-up, it is important to hold the bar slightly wider than shoulder width apart.
Once the grip is correct and feels steady, follow these simple steps. Cross your legs and begin pulling your chest towards the bar until your chin extends past it. Lower slowly, controlling your shoulders, back, and biceps, and avoid extending your elbows fully. Repeat.
Trainer tip: Pull-ups are usually thought to be slightly more challenging than chin-ups.
Why?
The biceps are in a weaker line of pull. As a result of this, it is advised that, initially, in order to build up strength and avoid injury, more focus should be given to chin-ups until your endurance and confidence has improved.
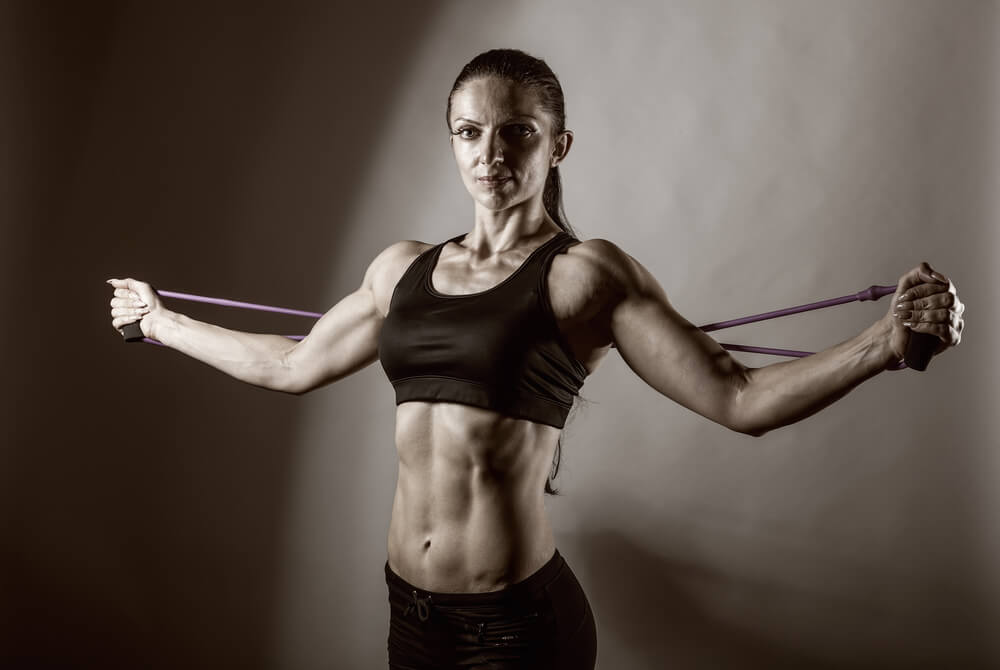
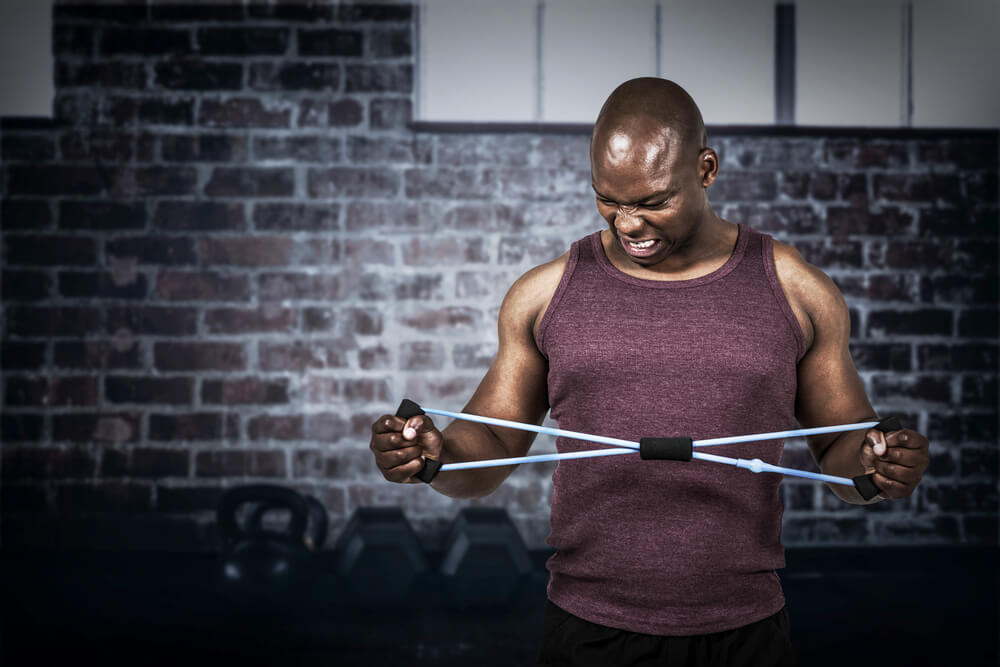
#3 The Pull-Apart
What You’ll Need:
- A circular resistance band
This exercise is great not only for improving strength but also for enhancing flexibility and mobility. It often forms a part of a warm-up routine and it is certain to contribute positively to overall form and the quality of your workout. The pull-apart can also be used as an active recovery in between sets of more demanding exercises.
Start by placing the resistance band over your head and securing it under your armpits.
Grab the band with both hands and, keeping the arms at shoulder height, use your strength to pull the band apart, stopping once your arms are fully extended at your sides. Repeat.
Trainer tip: For a more challenging set, you can increase the tension by using a thicker resistance band. If you can’t find a thicker band, then avoid placing the band over your head and hold it folded in your hands instead. The fold will give the band twice the resistance.
#4 The Shoulder Blade Squeeze
What You’ll Need:
- A resistance band
This exercise helps to tone both the upper back and the shoulder muscles. It builds strength but is also a great exercise to do towards the end of your gym workout to properly cool down and ensure that the muscles maintain their flexibility.
Hold the resistance band in both hands, shoulder width apart. Raise your forearms so that they are parallel to the floor and keep a stiff, upright posture. Move your forearms outward, keeping the upper arms tightly against your body, until they reach their capacity and you can feel your shoulder blades pressing firmly into your upper back. Repeat.
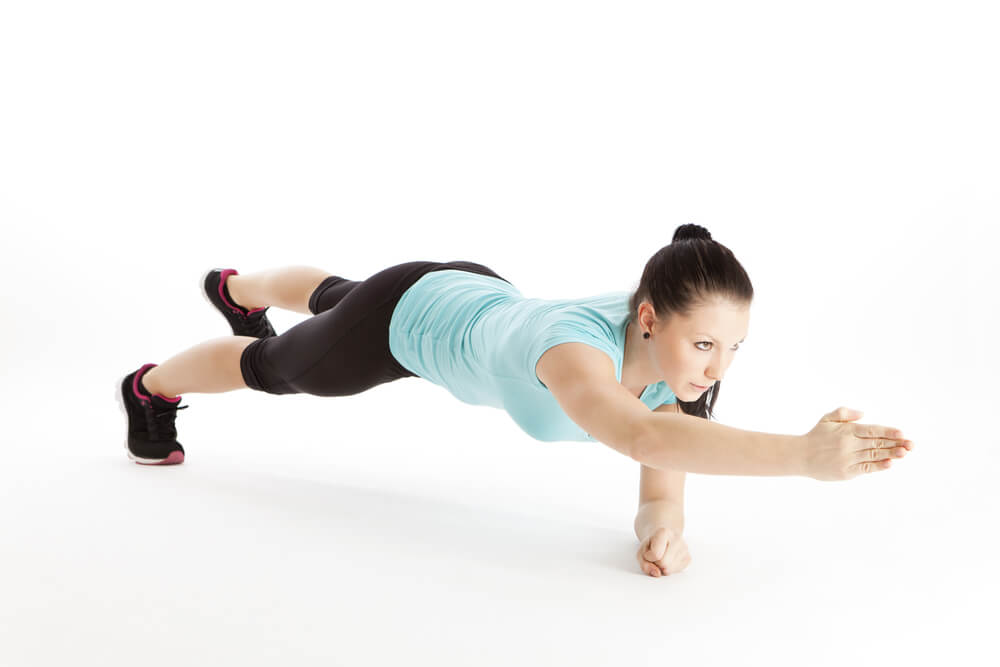
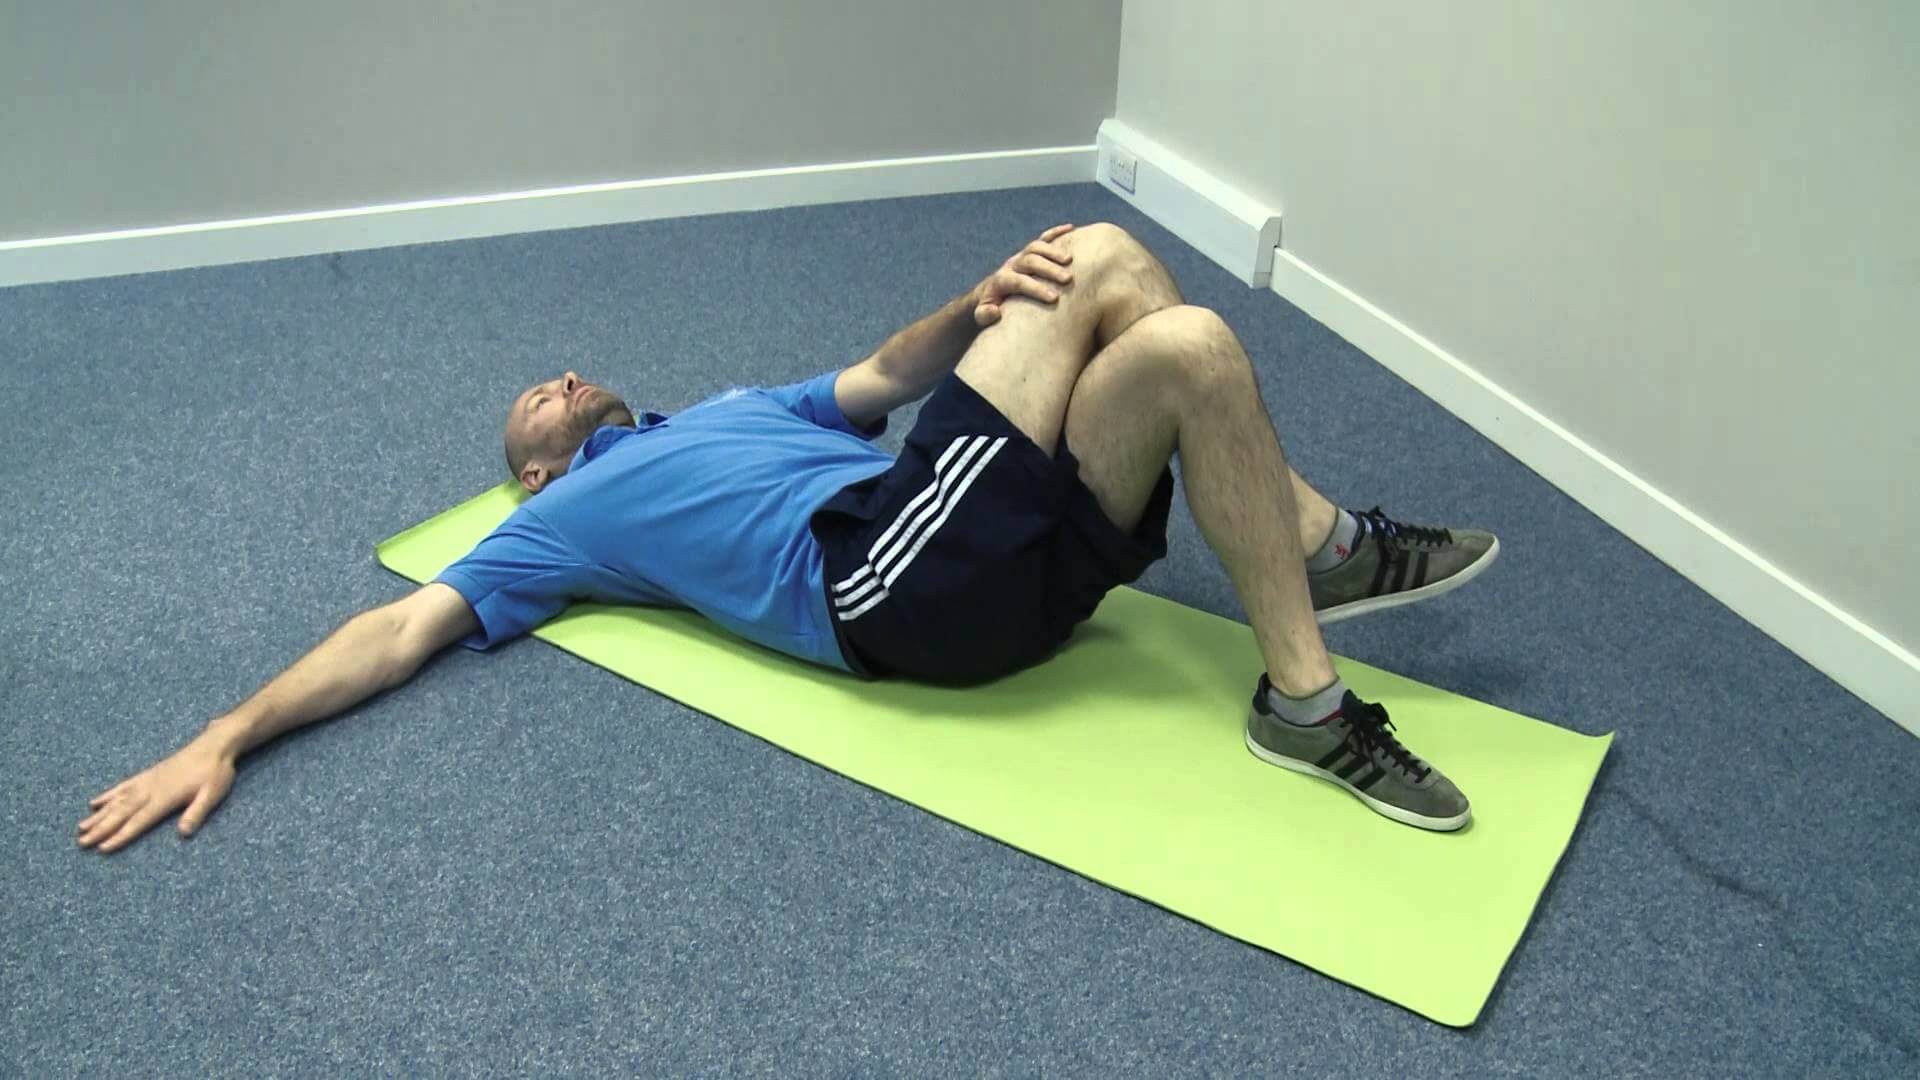
#5 The Opposite Arm And Leg Lift
What You’ll Need:
- An exercise mat
This is a handy exercise for people of all fitness levels.
Why?
Simple, it uses your own body weight as resistance, while still giving your abs, glutes, hamstrings and upper back muscles an intense workout. Follow these instructions to ensure a beneficial set of reps.
Start by lying on the exercise mat like a plank, face down. To avoid straining your neck, keep your forehead on the mat at all times throughout the set. Raise one arm and the opposite leg simultaneously as high as each limb will allow. Lower and perform on the other side. Repeat.
Trainer tip: For optimal muscle building, keep your stomach muscles tight. Do not push them out. It is also essential that you keep your spine aligned in order to avoid sustaining an injury. If you are unsure as to whether or not your spine is straight, place a tennis ball on your lower back and work on keeping it there. If it rolls off at some point during your set, you know that you are tilting to one side.
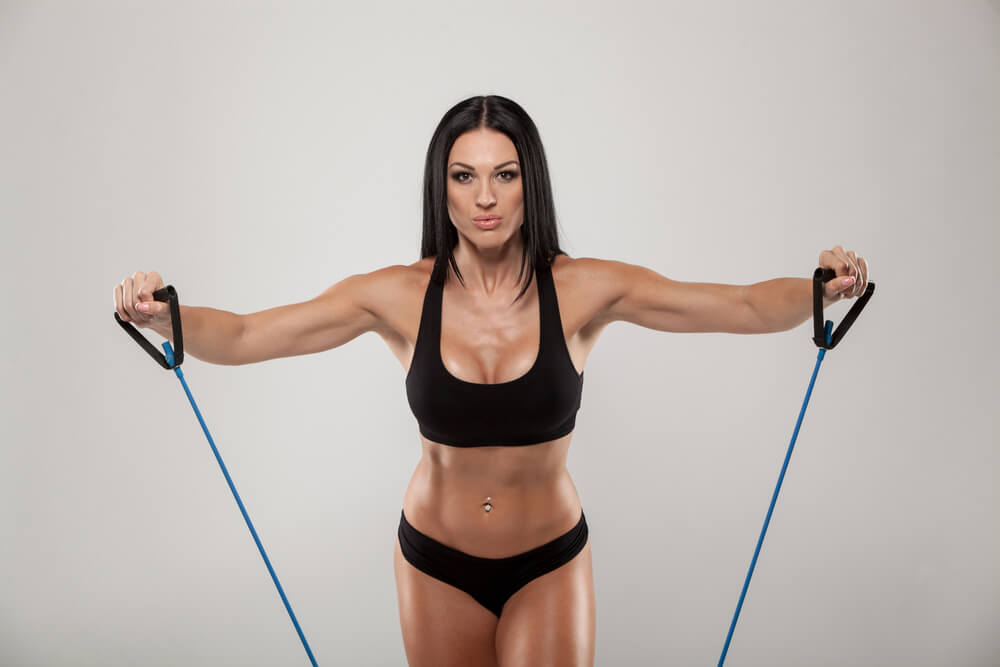
#6 The T-Raise
What You’ll Need:
- A resistance band
This exercise is simple and focuses on a number of muscle groups. First, it targets the upper back and middle back. Along with this, it also works your abs, biceps, and triceps. What follows is how to do this exercise to reap the full benefits.
Standing, hold the resistance band firmly in both hands, stepping on the middle section with one foot. Place the other foot one and a half steps in front, ensuring enhanced stability. Tighten your abs muscles and inhale as you lift your arms up to shoulder height, forming a sturdy T-shape. Hold for a few seconds before releasing, with control, and placing your arms back at your sides. Repeat as many times as you wish.
Trainer tip: For a more even workout, do not forget to switch feet.
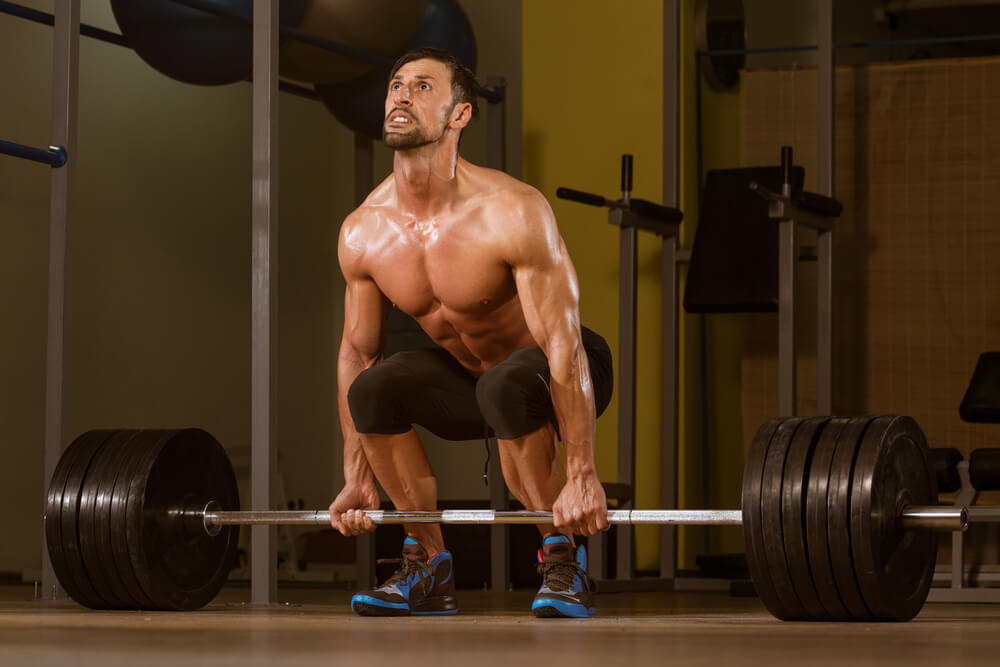
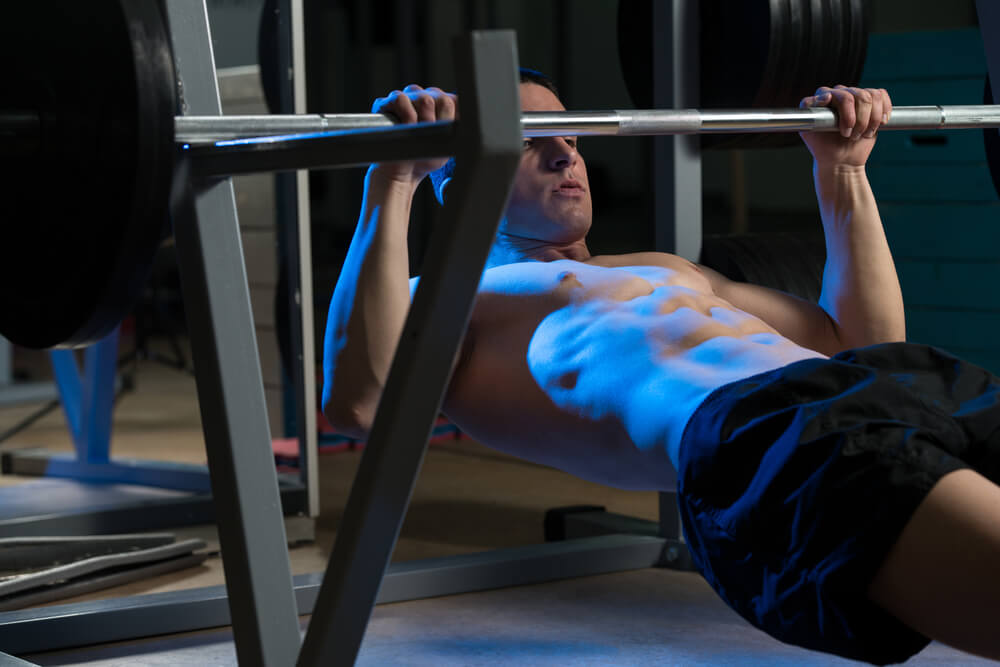
#7 The Deadlift
What You’ll Need:
- A barbell
This is one of those exercises that is slightly more physically demanding as any deadlift workout. It is ideal for improving strength. With that said, it is not something that is advised for beginners. What follows are some key tips for getting it right and targeting those all-important upper back muscles.
Choose the weight that you would prefer to work with and adjust the barbell accordingly.
Place the barbell in front of you. Start by squatting low and gripping the bar with both of your hands, arms fully extended and palms facing towards you. Using your back and thigh muscles, along with your core, ascend upwards – slowly and controlled – until you are in an upright standing position. Avoid looking up or down. Instead, keep your eyes focused on a spot ahead so that your neck does not strain.
Hold for a few seconds before descending, in the same controlled manner, by dropping your hips down and lowering your torso until the barbell reaches the floor. Repeat.
Trainer tip: Exhale as you lower the barbell, using your breath to help control your movement and increase stability.
#8 The Inverted Body Weight Row
What You’ll Need:
- A sturdy bar
This inverted row requires a lot of strength in your back, arms, and stomach. And that’s a good thing.
Why?
It provides an intense workout and promises fast, pleasing results. What follows is how to get it done.
Ensure that the bar is low enough so that you are able to hang from it at a 30-degree angle with your legs outstretched in front of you, heels on the floor. Hold the bar with your hands slightly wider than shoulder-width apart, palms facing you.
Using your arms and back muscles, slowly pull your chest towards the bar, forming a 45-degree angle with your body. Hold for a second or two before releasing – slowly and controlled – back to the starting position. Repeat.
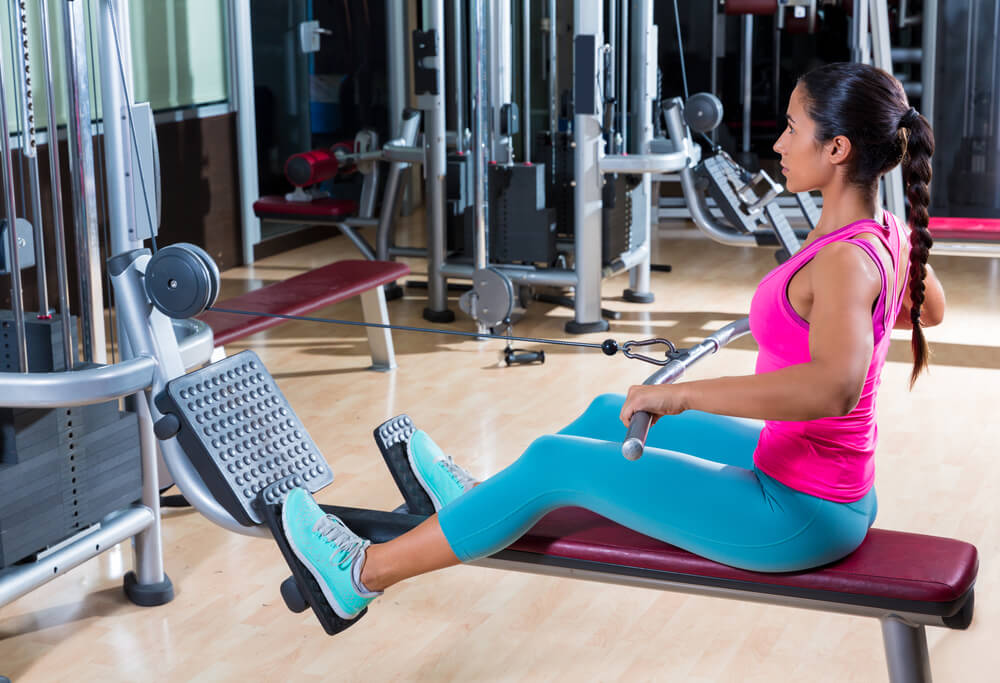
#9 The Seated Rope Cable Row
What You’ll Need:
- A rope handle
- A low-pulley cable
- A bench
The intensity of this workout can be easily adjusted, making it a good choice for gym-goers of all levels of experience. You only need to adjust the weights that have been placed on the stack. What follows is how to get it done.
Select your preferred weight and sit on the bench, facing the weight stack. Place your feet on the footplate, bending your knees. Grip the rope handle with your palms facing each other and pull the rope towards you as far as you can, bending your elbows and keeping them firmly against your body, and straightening your legs as you do so. Release back to the starting position. Repeat.
Trainer tip: For maximum benefits when it comes to strengthening your lower back, ensure that your shoulder blades squeeze together each time you pull the rope.
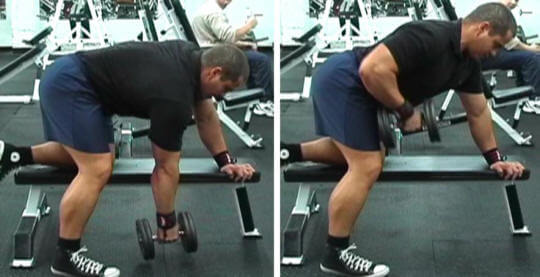
#10 The One Arm Arc Dumbbell Row
What You’ll Need:
- An exercise mat
- Dumbbells
This exercise also makes it possible for you to choose to use an ideal weight and, therefore, remain in control of the intensity of your workout. It is an exercise that targets the upper back and also helps to tone and strengthen the lats, shoulders, biceps and triceps.
Here’s how it is done.
Begin by getting on all fours on your exercise mat. Steady yourself with one hand on the floor and grip your chosen dumbbell in the other. Slowly lift the dumbbell, arm bent, towards the hip as high as you can. The higher you go, the better the workout will be for your upper back and shoulders.
Trainer tip: While lifting higher than the hip is certain to intensify the exercise, be careful not to strain your muscles or injure yourself.
Always remain aware of your limits.
Hold for a few seconds before lowering the dumbbell and repeating on the same side for as many reps as recommended by your trainer. Once you have completed your chosen number of reps, you can switch and do the same on the other side.
#11 The Corkscrew Stretch
What You’ll Need:
- A workout mat
When it comes to keeping those upper back muscles in top form, stretching is just as important as any other exercise that you could possibly do at the gym. Upper back muscles that are strong can actually begin to hinder your workout if they are not kept flexible and mobile. Owing to this, performing the corkscrew stretch, either before or after your workout (or both for maximum results), is always a good idea. Follow the directions to be sure that you get it done just right.
Start by getting on all fours on your workout mat. Place one arm behind your head, in line with the ear and turn your head and body towards the ceiling. Stop once your elbow is pointing towards the ceiling and your chest has been properly rotated. Hold for a minimum of 60 seconds. Repeat on the other side.

Conclusion
Ultimately, when it comes to working the upper back and effectively building muscle and strength, the most important thing to keep in mind is posture during a good back workout. A sturdy, straight spine will provide you with the stability and grounding needed to make the most of your workout routine. Along with this, remember to keep motivated. After all, a bright, positive mind and attitude are certain to help construct a happy, healthy body!
After all, a bright, positive mind and attitude are certain to help construct a happy, healthy body!
By Bianca Delport
Terry
Latest posts by Terry (see all)
- How Important Are Net Carbs For Building Huge Muscle? - Apr 28, 2017
- The Matt Damon Workout Explained - Apr 27, 2017
- Watercress – Benefits And The Best Way To Consume It - Apr 26, 2017


")

[…] you also need to focus on the portion of your body you can’t see. Your back is just as important as your […]