 Want to build superhero muscle, here is your avengers workout!
Barring a spider bite, chemical exposure, or a billionaire father, building superhero muscle and strength can be a difficult task.
This journey can be a slow process, but we’re going to look at three important lifts you should add to your workouts to build superhero muscle fast.
The Top 3 Avengers Workout Exercises
 #1 Pull-Ups
You know the scenes where a hero slides down the crumbling building and catches someone with one hand while holding on to the other?
If so, you’ve probably wondered how difficult that would actually be. Especially pulling the person up to safety and climbing to stable ground. That’s superhero strength, and the best place to start for scenarios like this is the pull-up.
In addition to hanging from buildings or cliffs, pull-ups are an amazing exercise for building muscle in the back, arms, and even the core. Building a stronger upper back can also improve your v-taper and give the appearance of a smaller waist. When performed correctly, you’ll activate nearly every muscle in your upper body with pull-ups.
Here’s where to start.
How to Perform A Pull-Up
For the pull-up, you’ll want to take a shoulder-width grip on a bar. Before you do anything else, you should focus on tightening your core by flexing your abs and glutes (butt).
Next, you should retract your shoulder blades – or pull the shoulder blades back and down. When done correctly, this should take your shoulders from shrugged (near your ears when hanging) to lock in place (as if you were standing tall with your chest out).
This will not only keep your shoulders injury-free, it will also put you in a stronger pulling position.
Once you’ve gone through this process, you’re ready to pull. While keeping your elbows in front of you or under the bar, pull your upper chest to the bar. It may help to think about pulling your elbows to the bottom of your rib cage instead of pulling your chin to the bar. You should feel the difference in core activation as well as the muscles of your back.
We’ll talk more about how to get your first pull-up below, but the biggest takeaway from this section is learning how to retract your shoulder blades. You can implement hanging shoulder blade retractions right away. To do these, simply hang from the bar and pull your shoulder blades back and down. It should look like you’re doing a reverse shrug of sorts.
How to Get Your First Pull-Up
As great as pull-ups are, they’re very challenging. If you’re in the early stages of your superhero journey you may lack the upper body and relative body weight strength to perform a pull-up right away. As you get stronger and improve body composition, pull-ups and body weight exercises will get easier by default. That said, there are strategies to implement right away to get your first pull-up in no time.
Depending on your ability level, you may want to start with building overall upper body strength before transitioning to this specific strength improvement. In this case, the first two examples below will cover overall strength development while numbers 3-6 cover pull-up specific development.
Cable or Machine Lat Pulldown
If you’re not ready for band-assisted pull-ups just yet, lat pulldowns are a great way to mimic the same pulling movement pattern with resistance. Increasing the weight you’re able to do each set on the lat pulldown should almost transfer directly to pull-up strength.
Bent Over Dumbbell Rows and Cable Rows
Building upper body and pulling strength overall will enhance short-term body composition results and shorten the time frame for your first pull-up. Rowing and pulling movements of any kind are the perfect substitute in the early stages of your superhero journey and should always have a place in your training.
Bar Hangs
If you can’t hang from a bar for more than 10 seconds, you’ll have a tough time performing more than 1-2 pull-ups. Implementing timed bar hangs where you simply hang (and work on scapular retraction if needed) is an excellent way to improve your ability to do pull-ups. A stronger grip leads to greater overall strength. These will also help your performance in our third movement in this article.
Pull-Up Eccentrics
The eccentric portion of a lift is the lowering of a weight or in this case, your body. This phase of a lift is where most of the muscle damage is done, a potent stimulator of muscle growth.
To perform eccentrics on your pull-ups, position a box or bench where you can either jump to the top position or step off and hold yourself at the top position before lowering to a dead hang (elbows locked at the bottom). The slower the eccentric, the better. Aim for at least a 3-second count from the time you begin lowering your body until reaching the bottom.
Band-Assisted Pull-Ups
What better way to improve at something than doing the actual movement with assistance?
You can use the assisted pull-up machines in the gym, but you’ll likely find the band-assisted version to be a totally different feel.
Inverted Rows (TRX or Bar)
Because you can move your feet closer or farther away on inverted rows, it’s easy to mimic a pulling movement with 100% of your body weight or 50%. If your feet are in close, your legs can support more of your weight, while moving the feet away or even elevating them transfers all of your body weight into your pull.
Progressing the Pull-Up
When you’ve progressed or for those already knocking out sets of 10+ on the pull-up bar, there are a number of ways to continue progressing the difficulty of pull-ups. It’s important to note that before you add any pull-up progressions to your training you should know your purpose.
Progression is necessary over time but if you don’t have a need for a 2x bodyweight pull-up, it’s not a great idea to strap weights around your waist and find a one-rep max on pull-ups. Okay, now that we’ve established that, let’s look at ways to progress the pull-up.
Weighted Pull-Ups
Adding weight via a weight belt or holding dumbbells or kettlebells between your feet can be a great way to increase your raw pull-up total and overall strength.
Wide-Grip Pull-Ups
Most people find a wider grip to be more challenging and better for isolating the lower lats.
Chin-Ups
Chin-ups may be easier than pull-ups for some, but they’re a potent bicep builder and target the muscles of the back from different angles.
Paused Reps with Eccentrics
Similar to eccentric training for getting your first pull up, you’d add a pause at the top and use slower negatives in the process of doing full reps.
If you can do 15 pull-ups unbroken, it would be a challenge to get 10 using this method.
# 2 Split Squats
We’ve covered the single-arm cliff-hanging rescue move, but we need to talk about making athletic and powerful moves look easy. If you’re planning on kicking ass and taking names, a strong lower body is an absolute must. Not to mention, if you build a great looking v-taper with tons of pull-ups, you need a strong lower body to match.
Everyone knows that squats are great, right?
But squats are extremely technical and require an empty squat rack, which can be a problem depending on your training environment.
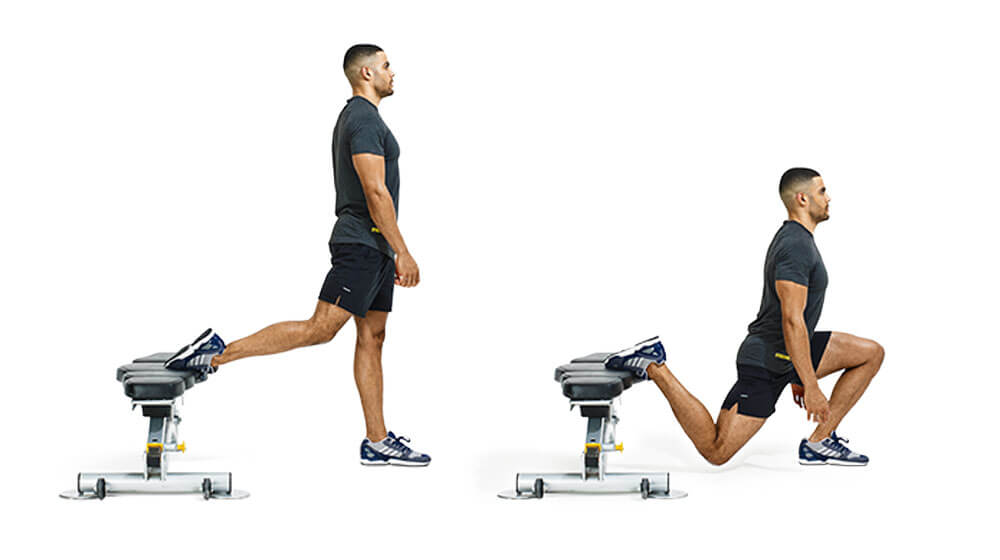
That’s why you should work the split squat and its many variations into your leg workouts. They can be loaded heavy enough over time to rival a heavy barbell squat. And even better, they’re the perfect substitute for those with low back pain.
You may see this exercise called Bulgarian split squats, rear foot elevated squats, single leg elevated lunges, or plenty of other names but just know, we’re talking about one foot elevated behind you and static front leg squatting or lunging.
A few things to know:
- Front foot placement will determine which muscles you’re targeting. If your front foot is closer to you, you’ll target more quads and muscles on the front of your thigh. If your front foot is farther away from you, you’ll target more hamstrings and glutes. A great starting point is with a vertical shin. Meaning, your shin is perpendicular to the floor.
- Additionally, be mindful of where your weight is distributed in the front foot. Pushing through your toes will activate more quads, while pushing through your heel will activate more hamstrings and glutes.
- Your rear foot shouldn’t be too far away, nor too close. The knee of your rear leg should be able to stay relatively flexed throughout the range of motion. If you find yourself stretching your rear leg at the bottom of the squat, you may be too far away. Likewise, if you feel too much of a stretch in the quad of your rear leg, you may be too close.
- You should have a slight forward lean and maintain a neutral spine throughout. In other words, you should have a straight line from the top of your head to your butt. Avoid rounding or hunching the shoulders at the bottom.
- Balance is usually the biggest limiting factor when starting out with split squats. Use a wall, rack, or another object for balance assistance. Don’t progress to any variations below until you’ve mastered balance and stability during your body weight split squats.
Bonus tip: Use a weight plate or an object to mark where your front toes are on each set. That way when you reset legs or come back for another set, you don’t have to find your mark again.
Once you’ve mastered the movement, you have a ton of options for progression. Here are a few ideas:
Weighted Split Squats
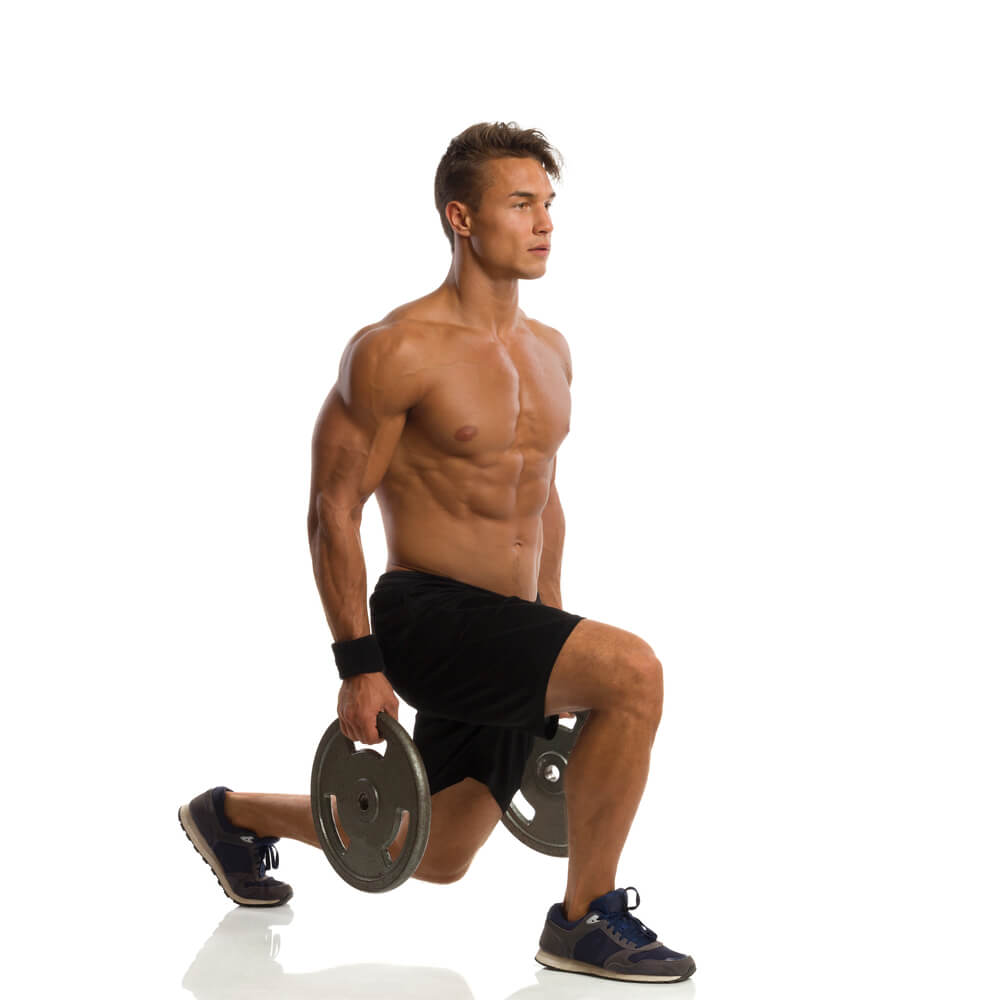
The easiest way to increase the difficulty with split squats is to add weight. You can hold dumbbells by your side, add a barbell to your back (or use the smith machine), use a goblet hold, hold kettlebells overhead, or even front rack a barbell. No matter the method, be sure safety is a primary concern. Don’t front rack a barbell on one leg without safety bars. Otherwise, you may lose your balance and crush your front leg. Ouch!
Deficit Split Squats
These can be performed with body weight by elevating your front foot. This can be a great way to increase the range of motion for the hypermobile superhero or those not ready to add weight just yet.
1.5 Split Squats and Paused Split Squats
To perform a 1.5 squat, you would simply perform the eccentric squat and instead of coming all the way up to standing you would go half way up, back down, and then up. One and a half rep. For a paused split squat, you would pause in the bottom position for 2-3 seconds. You’d be surprised how challenging these variations can be.
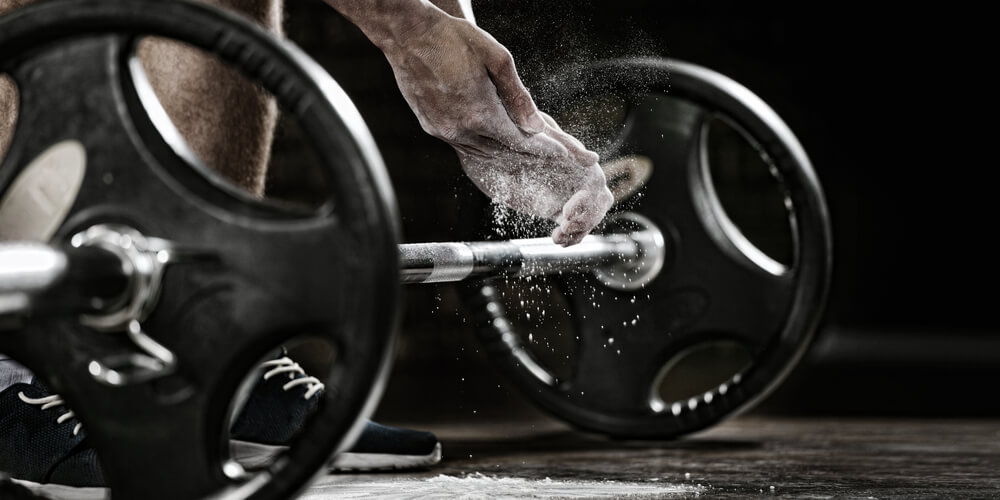 #3 Deadlifts
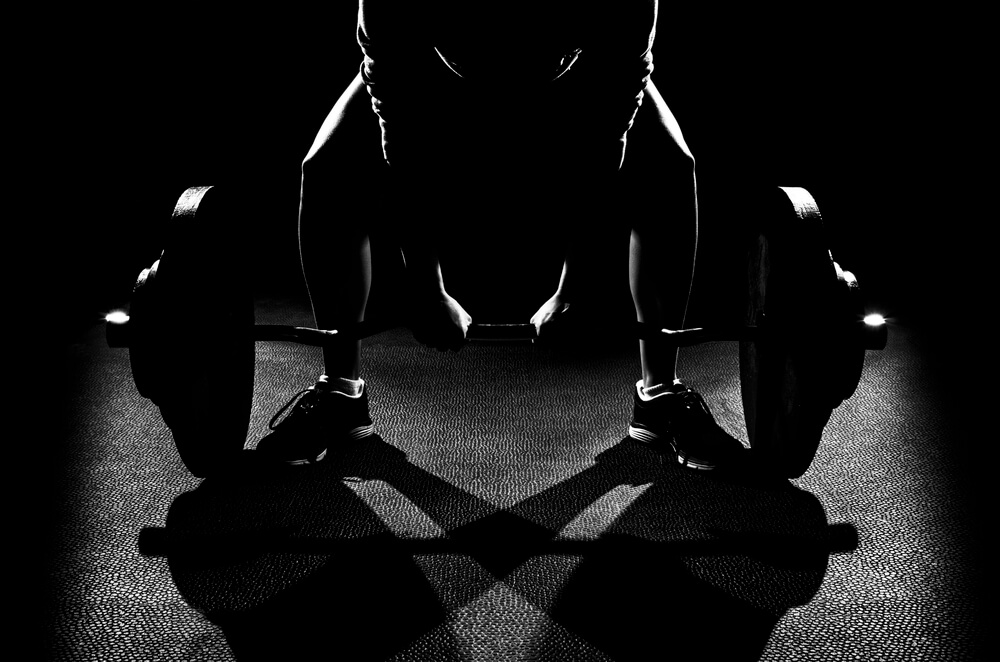
The deadlift was born in battle, with its origins rooted in the removal of the dead from battlefields. It’s only fitting that a superhero would incorporate this exercise into their training program.
Deadlifts are one of the best full-body exercises around for strength training. Since this movement allows you to move more weight than arguably any other lift, you can expose your body to out of the ordinary amounts of stress to stimulate superhuman changes.
There are a ton of different deadlift variations, but the four you’ll run into the most are the conventional, sumo, stiff-legged, and the romanian deadlift. In terms of powerlifting and deadlifting in competition, the conventional and sumo are the two primary variations used.
Before we look at choosing the best variation for you, let’s cover the movement pattern required for deadlifting.
Deadlifting 101
A hip hinge, or bending at the hips with a neutral spine, is one of the more difficult movements to learn. The hinge is involved with nearly every movement you do in the gym and everyday life. So learning, or not learning, how to hinge properly can set you up for success or a catastrophic injury.
Since it’s a difficult movement to learn, it’s a great idea to have a coach or someone help you learn the movement. Until then, here’s a walkthrough to teach yourself:
- Set up a chair, bench or box about 2.5-3 feet away from a wall. Grab a broomstick, PVC pipe, or a straight object of some kind.
- Stand between the chair and the wall, one foot-length away from the wall. You want the chair to be on your toes or slightly in front of the toes.
- Place the broomstick behind you with it touching the back of your head, your upper back, and tailbone. Have a friend hold this in place if needed. If you don’t have a broomstick, place your hands behind your head and keep your chest up.
- From this position, push your hips back until your butt touches the wall behind you while keeping a neutral spine. If you lose any point of contact with the broomstick, you did not maintain a neutral spine. If your knees pushed the chair forward, you’re trying to squat instead of hinging. Your knees should be “soft” or slightly bent but should flex minimally during the hinge.
- You should feel this “load” your hamstrings and glutes, and your weight should shift into your heels. It’s common for the toes to come off the ground if you’re not very flexible in the hamstrings.
- Using your glutes (squeeze your butt) stand up while maintaining a neutral spine and lock the hips out. Repeat until you’ve ingrained the movement pattern into your mind.
Deadlift Variations
A few common mistakes include hyperextending the lower back and locking the knees to push the hips back. The former can be corrected by flexing your abs while hinging. The latter is more of a learned-over-time correction through repetition.
Once you’ve learned the hinge, you can progress into deadlifting. The truth is, it’s hard to tell which variation is best for you. Your body size and lever lengths will have some say in which gives you the best mechanical advantage for superhuman strength. One of the most important things to consider when choosing your deadlift variation, however, is your desired outcome.
If you want to get into Olympic lifting, for example, a conventional deadlift will have the most carryover. Let’s say you want a pair of superhuman glutes. In that case, the sumo deadlift may be superior for glute recruitment.
Or maybe you’re after overall development and don’t have any particular goals that would benefit from one variation or another. The correct answer there could be all four.
You’ll hear plenty of arguments over which is superior for this reason or that reason. Don’t waste too much time deciding and get busy trying them out for yourself. If you feel a sumo deadlift puts you in a more upright position and is, therefore, the safer deadlift for you, go with sumo.
Likewise, if you feel an RDL gives you all the hip extension power development you need, go with that. The deadlift is such an individual movement, your best bet is to experiment and embrace variety until the winner reveals itself to you.
Conclusion
- Pull-Ups are an excellent upper bodybuilder that can be progressed for years to come by adding resistance, slowing down eccentrics, and adding variation to grips. Progress to your first pull-up by adding more rowing and pulling exercises like rows, pulldowns, and assisted pull-up variations.
- Split squats are a challenging single leg exercise that can be loaded heavy enough over time to rival a barbell squat. Because of the simplified movement pattern, these can be easier to learn and safer for beginner lifters when compared to the barbell squat. Master the body weight split squat before progressing to weighted or more advanced versions.
- Deadlifts are excellent for developing full-body muscle and power. The exposure to heavy loads is unrivalled in the gym and can lead to a potent hormonal cascade as well as benefits from heavy mechanical tension. However, you should learn to hinge properly before deadlifting.
About the Author:
Kyran Doyle is a certified, incurable workaholic. When he’s not lifting heavy things he can be found online at fitnesscrest.com. His goal is to humbly empower others to grow stronger and take control of their health and fitness as he continues to grow himself as a lifter.
Terry Asher
Latest posts by Terry Asher (see all)
- Better Family – Product Review Liquid Daily 2 oz - Dec 16, 2024
- Post-Workout Recovery: The Key to Optimal Performance - Nov 25, 2024
- Pre-Workout Supplements – Everything You Need To Know - Nov 18, 2024




[…] via- https://gymjunkies.com/avengers-workout/ […]
Yes, the article I was looking for. Your article gives me another approach on the subject. I hope to read more articles from you.
Your post contains a lot of useful information for me. Thank you very much for that.